AKG K340/702/271 Mods
Beyer 770/880/990 Mods
BlackSeries Cables
Darth Beyer V7 & V7-A
Headphone Deals
Headphone Stands
Rocks & Lapidary
Sennheiser Mods
The Vixen V4
About Me
Archived Photos
COA Info
FAQ / Cable Care
Home Page / Order Status
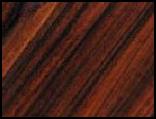
Wood Identification Pics
Grado High-End Mods & Recables, Grado Standard Mods & Recables
Not Available at this time...
AKG K340/702/271 Mods
Beyer 770/880/990 Mods
BlackSeries Cables
Darth Beyer V7 & V7-A
Headphone Deals
Headphone Stands
Rocks & Lapidary
Sennheiser Mods
The Vixen V4
About Me
Archived Photos
COA Info
FAQ / Cable Care
Home Page / Order Status
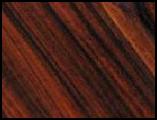
Wood Identification Pics